
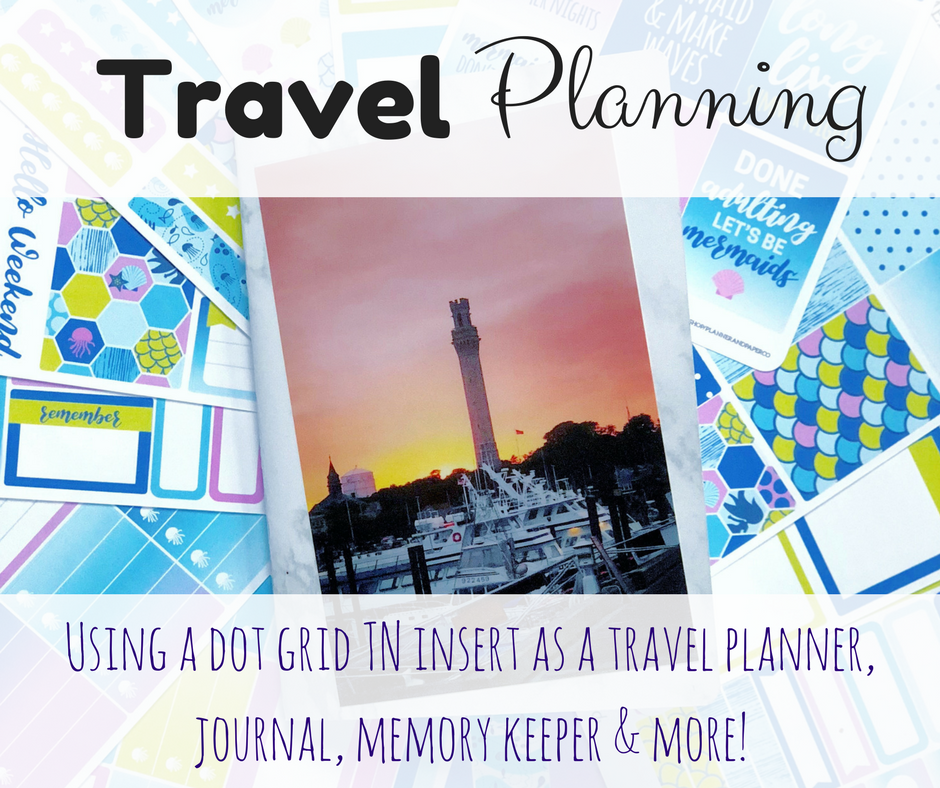
Travel Planning Using a Dot Grid TN Insert
By Leslie Sleesman
on May 28, 2018
38 comments
38 comments
It’s officially summer now, so I figured it was time to throw together a summer bucket list! As a recent college grad myself, most of these activities are geared towards the twenty-something audience (but many are also pretty versatile).
As a midwesterner through and through, I have learned to love each season as it is present. I miss winter in the summer, and I miss the summer in the winter. I think having four pretty distinct seasons makes me appreciate each one more.
This is my first summer whose end won’t be marked by returning to school. During the last few weeks, I’ve been making little notes in my planner when I got ideas of things to do this summer. I’ve compiled some of them here!


We've all seen pictures of beautiful pinterest-worthy planner spreads and hoped we could one day make something as stunning. I'm guilty myself of occasionally "planning for the picture." Hundreds of thousands of planners are sold every year and a disproportionately high number of the "pretty" ones wind up on the internet. For me, sometimes, what is behind the camera is another struggle entirely. Even though I'm new to this, some people have told me they find MY plans inspiring, which I still find hard to believe!


My only child graduated high school this May. We worked really hard to throw him a big graduation party with lots of friends and family in attendance. We booked a venue, got a caterer, and I spent months on DIYing the decorations. With a party of this scale it’s easy to lose your head and get overwhelmed. Being the planner girl that I am, I knew I’d have to utilize my planner to keep my head on straight! 
I grabbed my Filofax with my Limelife A5 inserts and setup the perfect party planner. I pulled out several sheets of my note paper from the A5 inserts and created a section in the back of my planner for this project. The first thing I did was create a timeline of events and tasks that needed completed along the party planning process. I decorated it with graduation themed washi tape and a few stickers. 

I knew I’d need a place to keep all the venue and caterer details. The venue we chose had specific requests to contact them 2 weeks prior to the party and 1 week prior to the party. Little notes and reminders were all jotted down on this page. I also created a section on the page with payment info. This way it doesn’t slip my mind who I paid what to where.

You can’t plan a party without having a go-to contact list! Once again I grabbed a page from my Limelife A5 inserts. This time I took a Contacts page. Here I kept all the addresses and phone numbers I would need. You could argue that I could’ve just put the venue and caterer contact information on the page designated to them, but I wanted all phone numbers in one easy location. What you don’t see in this photo is also the names, phone numbers, and addresses to the guests. 

In the back of my party planning section I put a clear insert sleeve pocket. In this sleeve I put pages I printed out from Instagram for decoration ideas and a copy of the invitation. I also printed out the product pages from Party City with prices so I knew exactly what I wanted and how many so when I went to Party City to purchase the items, it would be a quick trip in and out. The party went on without a hitch I’m proud to say! However, I’m NOT proud to say that in the hustle bustle of the party I completely forgot to take ANY PICTURES! Maybe I should have written that reminder down in my planner…Haha!
Have you used your planner for party planning? Tell me in the comments below how you organized your party planning in your planner!

This blog post was written by Emilee Adams for the Limelife Planners Media & Creative Team. For more information about Emilee visit her blog at www.emileespeaks.com. Please share and repost this blog entry with your friends! All we ask is that you give credit to Limelife Planners and the post author.

I've always had a planner for school, usually the one they give you for free on the first day of classes. I didn't really "discover" the planner community until halfway through my senior year of college when I decided I needed some physical organization system better than my iPhone calendar. Now, I've been out of college for almost a year and I don't want to give up this way of life, which has helped me enormously, just because my schedule isn't as busy as it used to be. It took some adjustment, but I think I've finally got the hang of post-grad planning.
I remember the planners that I used to have way back when... dates and lines, nothing really special. My teacher had to sign at the end of every day of school and my parents had to sign once I finished my homework. In high school came the real planners with the pretty patterns and the stickers and the color-coordinating system for classes. No one really used a cellphone to schedule things yet. It didn't hit me until college that organization was a thing that a lot of people struggled with, including myself.
In college, I used my phone for my schedule all the time. But where did I put my homework assignments or my clubs meeting notes? Honestly, they were just scribbled in a notebook and most likely forgot about. When I saw people decoratively planning in larger planners, it made me realize that this could be a system that worked for me.

I was a fan of the vertical-style layouts at first (Layout A & C): great for schedules and making list of assignments and tasks. Towards the end of college, I realized that a horizontal style layout (Layout F) worked better for the small amount of classes I had left.
After graduation, I went into a planning funk. I didn't have any more classes to plan for, just my work schedule which was the same every day. I didn't really need a planner anymore. It's not like I had a family to plan for. It's taken me a while, but I finally realized that classes aren't the only thing I could plan for.
If you're struggling on what to use your planner for post-grad, here are some ideas:

Once I got settled into my post-grad life, things started happening more. I had more meetings at work. I became a youth leader for my church. I started working out routinely. I even started planning out blog posts (hey, look at that). I may have even gone out of my way to do something I wouldn't normally do, just so I could write it in my planner.
It might not happen the minute you graduate, but eventually you'll get the hang of it.
I'd love to hear how you transitioned your planner from school to the real world, so be sure to leave a comment!

This blog post was written by Victoria Lee Werth for the Limelife Planners Media & Creative Team. For more information about Victoria visit her on Instagram @missengineerdesigns. Please share and repost this blog entry with your friends! All we ask is that you give credit to Limelife Planners and the post author.

The “Depression Monster” or bad days seem to pick the worst times to strike, and often result in a less than productive day. As someone who suffers from depression, I find that I feel even worse at the end of these days because I wasn’t productive. On these days, it can be extremely difficult to get things done but I found that by going through the process outlined, I don’t feel as bad that night. This process can be applied by anyone on a difficult day.
Quick note: If you are suffering from depression or other mental health issues, please seek help from trained medical professionals. 
On most days, I start with a filled-in sheet from the Limelife Planners Hourly Paper Pad that I made the night before. These sheets come in handy when you have a busy day ahead and I like to plan the night before for the upcoming day. Unfortunately on this particular morning, I woke up feeling pretty down. I knew that it would be impossible to complete all the tasks. Instead of ripping up the paper, I went in with my handy Sharpie pen and picked three things from the list. The number of tasks varies depending on the severity of the episode; sometimes I’ll pick one task and on other days, I’ll be able to pick five. 
When picking tasks, I usually choose ones that won’t require too much effort. If you’re having a bad day, choose to do things that won’t require you to drive all over town. Pick tasks that are monotonous like deleting emails, taking out the trash or doing the dishes. Once you’ve decided on the tasks, write them on a separate sheet. This helps to focus on those tasks and prevents guilt from building about the other tasks on the longer to-do list. Throughout the day, I’ll try to accomplish those three tasks.
At the end of the night, I’ll hopefully be able to check off my shorter list. What about the longer list? I’ll get a brand new sheet and plan for the next day optimistically. On these particular nights, I find spending some time journaling helpful. For more details, check out my previous post Write Stress Away, where I outline some different journaling styles and techniques. 
When you are having a bad day, remember to give yourself a break. Allow yourself time to wallow but try not to get consumed by the negative thoughts. Take some time to do something fun, whether that is watching Netflix, journaling, reading or treating yourself to a delectable snack. When you are in the midst of a bad period, it may be hard to implement these strategies, but learning about these techniques on a good day can make it easier to apply against the monster.

This post was written by Sadia Chowdhury for the Limelife Planners Media & Creative Team. For more information about Sadia visit her on Instagram @sadias_ruminations. Please share and repost this blog entry with your friends! All we ask is that you give credit to Limelife Planners and the post author.
![]() What is your planning style? Do you like to use lots of stickers and washi? Or are you happy with just a pen or two? Browsing through all the wonderful planner community photos on Instagram, it’s so easy to get overwhelmed with the idea that every space needs to be filled in.
What is your planning style? Do you like to use lots of stickers and washi? Or are you happy with just a pen or two? Browsing through all the wonderful planner community photos on Instagram, it’s so easy to get overwhelmed with the idea that every space needs to be filled in.
As an organizer that loves to help busy moms feel productive and less busy, I want to challenge the idea that every square inch of your planner needs to be filled.
![]()
I know, I know, you love to fill it in. And maybe you really are busy enough that you need to fill in all those lines and boxes. That is why you use a planner after all!
What I really want to challenge is adding things to your schedule for the sole purpose of filling up blank space. Savor those days when you’re not so busy!
Here are some ideas on how to fill in that white space in your planner that don’t include adding to your already busy schedule:
![]()
15 WAYS TO FILL IN BLANK SPACE IN YOUR PLANNER
![]() I mostly leave my empty boxes blank. Sometimes I use a sticker. I’m obsessed with cute emoji stickers, so I can usually fill in a space or two if I think it’s looking a little too sparse. I’ve also been loving all the fun and inspiring quotes people post on Instagram, and sometimes I practice my lettering with those quotes.
I mostly leave my empty boxes blank. Sometimes I use a sticker. I’m obsessed with cute emoji stickers, so I can usually fill in a space or two if I think it’s looking a little too sparse. I’ve also been loving all the fun and inspiring quotes people post on Instagram, and sometimes I practice my lettering with those quotes.
Do you mind having blank space in your planner? What is your favorite way to fill in those empty boxes?

This post was written by Kristan Kremer for the Limelife Planners Media & Creative Team. For more information about Kristan visit her on Instagram @pinkrosecompany. Please share and repost this blog entry with your friends! All we ask is that you give credit to Limelife Planners and the post author.
If you’re relatively new to the wonderful-world-of-planning, the Internet can be a scary place. Facebook? A nightmare. Twitter? Night-terror fodder.
Instagram? Forget it.
Our planner/planning community can be a magical place, but I liken it to being a kid in a candy store. At first, everything looks great. And then, you know you need to hone in on something, but you can’t pick just one. …And then…the sensory overload starts to take over, and before you know it you’re sitting on the floor and crying your eyes out.
Okay, maybe not – but you get my point! Looking for “planner inspiration” on Instagram or Pinterest can be a combination of inspirational and overwhelming, which can be either good, or bad. So many ladies – and even some gentlemen! – have achieved what many of us like to call “planner zen.” They know what works for them and run with it - and then some - often filling pages of their planners in sticker after sticker, after sticker – or stamps, colored in with colored pencils or Copic markers, and handwriting that looks like it’s straight out of a calligraphy text book. It all looks incredible – until you realize that you have yet to even put pencil to paper in your planner, and you suddenly are overwhelmed all over again, and self-conscious.
Your handwriting isn’t that neat. You don’t know how to hand-letter. You have a small stack of planner stickers you’ve borrowed from friends and your three standard colors of pen are Bic blue, Bic red and Bic green.
What even is a fine-point gel pen that erases from the heat of the eraser?! Those exist?!
And washi tape?! Is that… like masking tape? Duct tape? Is it a fancy word for tape that cleans? (Sorry. Bad, terrible pun..)
It’s easy to get lost in the wide-world of planning, and freeze right up. It can become too much, all at once… And sometimes, it seems like it’s easier to abandon it, than stick with it and figure out what works for you. 
See this? Definitely not the place to start. Too much, all at once. Just don’t do it.
So you’re a newbie – where should you start to ensure you stick with it? First, focus on the essential tools of the trade – and don’t go crazy. This is coming from me, someone who lives a life surrounded by every color of pen, pencil, marker and Sharpie around – even I had to start somewhere!

The Essentials ~
The Process ~
Step One: Before you can use any of your pretty colors, or stickers, you have to decide what kind of planning layout works for you. That’s the key to ‘simplifying’ planner zen. It’s also a whole separate issue, so in light of keeping this ‘simple’ – see what I did there? I’m going to show you a couple different layouts. You can also check out fellow teammate Victoria's recent post on choosing a layout. You have to decide which ones you like!
Step Two: Make a list of what and who you need to plan for. Are you single? Or are you a mom with a family of six? That makes a big difference! Using your sheet of paper – or notes page from your planner – make your list of everything you want/need to include in your plans. I usually do this in pencil, which you’ll see below!
Step Three?: Color code! I know it seems a little ‘planner crazy’ to have so many colors, but color coding is a magical thing. You can keep a key of your chosen colors somewhere in your planner and reference it each time you sit down to plan. Make color your visual best friend. Choose a color for each person, place, and thing you intend to plan for and mark it on your sheet. (You can fix this up nice later for a ‘final’ copy.)

Step Four: Get down to planning! Right about here is where I rely heavily on that sharp pencil and my monthly spread. I’m a ‘weekly spread’ decorator, but there’s not a single color that touches my monthly. Everything goes in pencil, in case it changes, or is canceled. I reference my monthly each week when I sit to do my monthly spread! When you’re ready to plan in your weekly spread, just do what feels right. If your son’s soccer games are supposed to be in red, fill them in where it seems appropriate.
Here are some examples of ‘simple’ layouts. No frills, no crazy decorations – just functional stickers that serve one purpose: to be functional. Is it pay day? Mark it. Is there a bill due? Mark it. Do you need to be reminded of something when you go to your planning happy place at 9:37 am Thursday morning? Mark it. Just make it work for you!


Don’t worry about how it ‘looks’ or if it’s ‘pretty’ – planning is your relaxing time. Not someone else’s joy; going out of your way for Instagram <3’s might not always bring you peace. Remember that! Once you figure out what works for you, you can go back to Instagram for inspiration and start to experiment with stickers, colors, etc.
But, for now? Take it slow and think about you. You’re most important, and your happiness is why you plan. The rest will come.

This blog post was written by Keri Thivierge for the Limelife Planners Media & Creative Team. For more information about Keri visit her on Instagram @steviedplans. Please share and repost this blog entry with your friends! All we ask is that you give credit to Limelife Planners and the post author.

