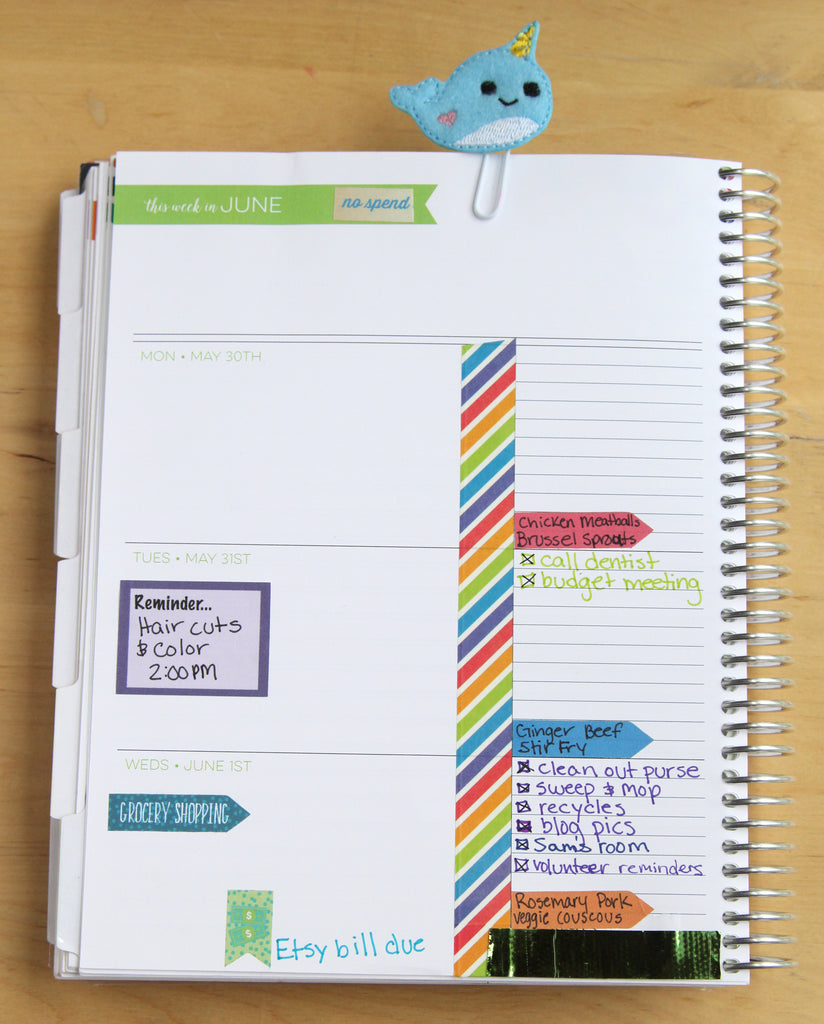
Happy New Year planner friends! I’m back on the Limelife Blog to share how I am using my Layout C in my planner starting this January. Back in July, I ordered my planner for the new year. I ordered two….because I really wanted to try Layout L, but being a creature of habit, I also ordered Layout C which I had been using for a year, just in case I didn’t like Layout L. Well, I love Layout L, and I can’t stand to have an entire planner not get used, especially when it’s so pretty. So, I’m jumping on that whole let’s get healthy band wagon and use my layout C to help me do this. I have a husband and two boys who can eat anything and everything they want and they are not squishy and cuddly like I am. I don’t have an end goal in sight, I just want to feel better, and not be quite as squishy and cuddly. My goal is to move more, eat healthier and have more energy. I am super private about this type of stuff, mostly because I do not want people hounding me to join their weight loss groups, so I was really hesitant to share how I am using this in my planner. One thing that I have learned over the past couple years in the planner community though is how supportive and loving of a community it is. Plus I have gotten better at just saying NOPE. So here we go! This is how I am using layout C in my planner for the next year!
I ordered both 7x9 planners this year uncoiled and Limelife punched it for me to fit A-5 ring planners. The reason I requested this is because I love moving things around, adding sections, taking out sections and using things in a creative way. At the back of my planner, I created a “Loosing It” section to track my health, movement and mood. I started out by taking the weekly pages for January and washi taping them. I dug into my fun washi tape stash, the cutesie ones that I hardly ever use, to make it a bright and fun part of my planner since at times, I’m sure I’m not going to feel so excited about visiting these pages.
Layout C has 6 boxes to use daily, so I wanted to brainstorm how I’m going to organize this before I just jumped right in and started stamping. After I mapped out how to use my boxes, I dug through my stamps and got everything I needed to I could quickly get this layout done. I decided to stamp an entire month at a time because I know that this will be an easy section to neglect and not set up every week.
The first two boxes I’m using for food/meal tracking. Boxes 3 & 4 will be used for Carb and Sugar tracking (the addiction is real!), and the last two boxes will be to track movement and mood. I will color in what mood I am in every day. When choosing the four mood options, happy, meh, irritated, and stressed were the four most common that I am, as much as I hate to admit. Friday will be my weigh in day.
Lastly I added my menu section so I can plan for the week, and my water jug to make sure I’m drinking enough water. This actually shouldn’t be a problem for me, I love water. I just love coffee so much too, and will often drink coffee well into the afternoon instead of switching over to my water earlier in the day. For the entire month of January, the format will be the same. Come February, I will evaluate and see if I need to change anything, but for now, this is feeling good, and most importantly, feeling doable for me.

I wanted to add something fun to this whole section of my planner. So I made a tracker for pounds lost. I printed out a digi stamp and colored her, cut the section marker on my Cricut, and stamped hearts to color in for each pound lost.

Since I did 4 weeks at once, this project took me about an hour. I kept it simple, usable and plenty of room to write. The great thing about Limelife Layouts, is that they can be used in multiple ways, not just for planning our busy days. It’s fun to figure out how to use what I have and make it work for me, and there are so many wonderful planner girls out there that inspire me to be creative and think outside the box. I hope that I was able to share some of that inspiration with you as well!
As always, thanks so much for taking time to stop by and check out the blog! You can find me on Instagram: glam2plan_pnw
See you soon!
~Lindsay



 Good news! Meal planning is a lot simpler than most people think and it requires just a little time and effort. What’s the best way to start meal planning? Just start! There’s no right or wrong way to do it. The best method is the one that works for you. With a few simple systems in place, you’ll be all set for success!